Our Complete Bathroom Update For Less Than $450


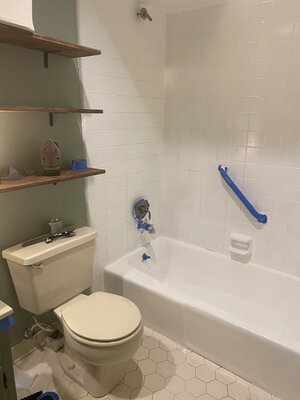
We love the character and quirks of our 1980s ranch-style home… mostly. The off-white, almond-colored everything in both our bathrooms, however, was not a quirk we loved. But bathrooms are expensive! Especially if it includes any plumbing or refinishing of surfaces that are going to get wet. There are many things I would DIY, but I recommend consulting a professional plumbing service in your area for more difficult projects such as moving pipes.
Did you know…
The average bathroom remodel costs $10,769.
— Home Advisor
That was not in the budget. So I set out to find a way to give out bathroom a completely new look… on a budget. My goal was $400… and while I ended up spending $434, I’m calling this one a victory because the transformation is just that good. Here’s everything I was hoping to do to bring this bathroom into the 21st century.
Main Bath Renovation Project List
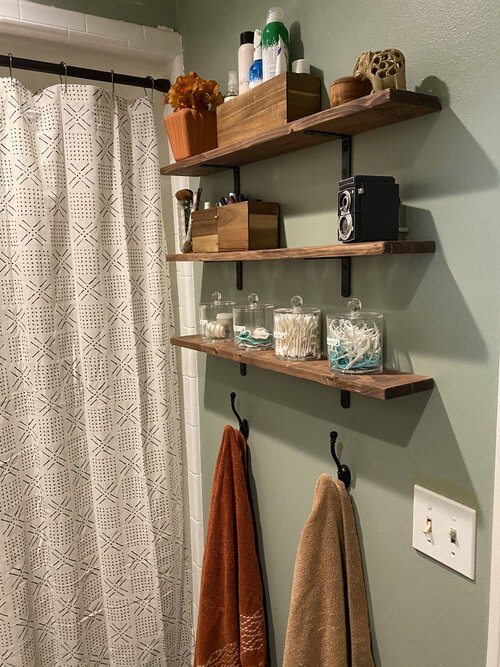
Build wall mounted shelves for additional storage
Refinish the bathtub and shower tile surround
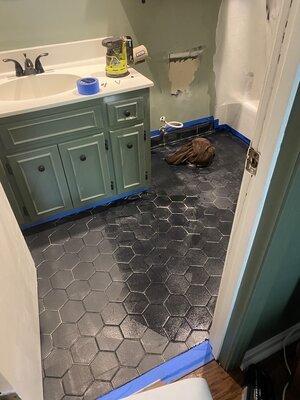
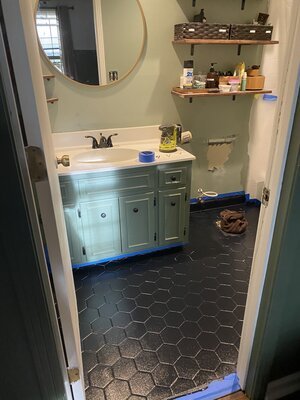
Paint the hexagon tile floor
Replace the old toilet
Replace countertops with butcher block
Paint vanity
Add corner shelves by the sink
Replace the bathroom mirror
Add lighting
New shower curtain
Repaint walls a lighter color
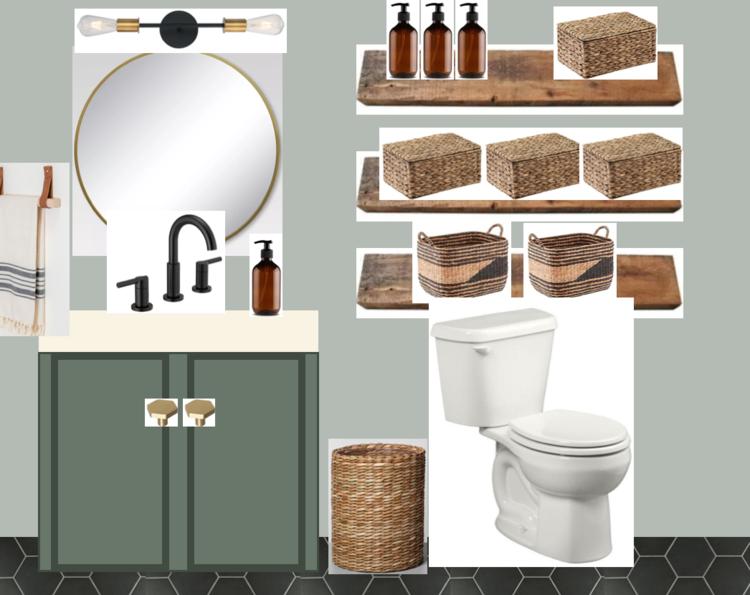
Bathroom Moodboard
Projected Costs
Lumber for shelves: $28
Bathtub refinishing kit: $45
Floor paint: $37
New toilet: $150
Replace countertops with butcher block: $0 (leftover from another project)
Paint vanity: $0 (leftover paint)
Add corner shelves by the sink: $20
Replace the bathroom mirror: $0 swap living room mirror
Add lighting: $60
New shower curtain: $25
Building Custom Shelves

Since storage was such a big issue in this bathroom, I knew I was going to have to make the shelves to get exactly what I wanted. I wanted them to be as wide as possible without being in the way. That came out to three shelves that are 9.75-inches wide and three more shelves that are just 5.5-inches wide. I use pine from Home Depot (Lord, please bring down the lumber prices). With my miter saw, I cut them to size, sanded, and stained. Then I secured them to the wall with drywall anchors, screws and L brackets.

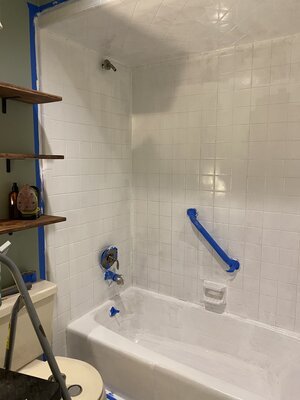
Refinishing The Bathtub & Tile Surround
TIME: 3 days
DIFFICULTY: Intermediate
BUDGET COST: $45
FINAL COST: $96
Tools Needed:
Tub refinishing kit
Tape
Sandpaper #80, #120
Electric sander
Respirator mask
Fan(s)
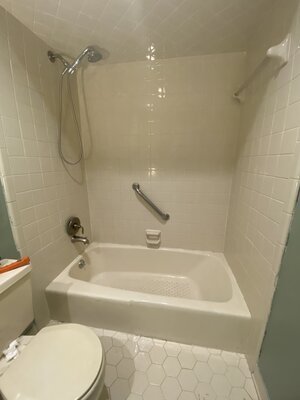
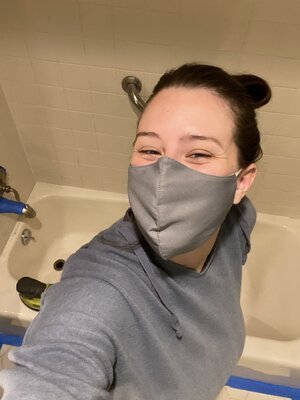
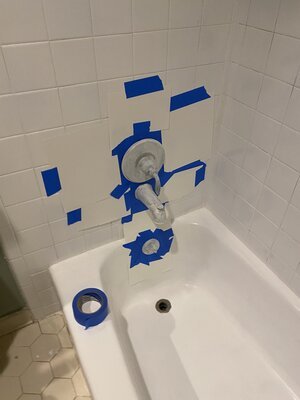
I’ll admit this is the most difficult part of this entire update. It was easily the most physically demanding DIY I’ve ever done, however, I am not an athlete. The painting portion of refinishing the tub is easy, but the prep work is no joke. The first thing I did was start to remove the caulking from around the bathtub. This was disgusting and exhausting, but worth it. This stage took me two days. Once it was done, it was time to sand and deep clean.
I used our cleaning brush drill attachment, which made the whole process a lot easier. I cleaned with thieves household cleaner and smoothed any rough patches with #80 sandpaper and my orbital sander.
Once the whole area was clean, smooth, and dry — I tapped everything off and set up everything I needed to keep the area well ventilated. I cannot reiterate this enough: PREPARE FOR THE SMELL. The refinishing kit is extremely smelly and lingers… Our bathroom doesn’t have any windows, so this was especially difficult. I wore a respirator mask the whole time and kept a fan in our bedroom window and one in the bathroom doorway.
One kit would have been enough if I was just refinishing the bathtub, but since I was also doing the tile surround, I ended up needing two kits. These kits were in SHORT supply at hardware stores, which meant I had to opt for a different brand. It worked out fine and matched perfectly, however, there were a ton of differences between the two brands: Rustoleum and Homex.
Check out my comparison between the two different refinishing kits I used
A really helpful thing (that I found by ACCIDENT) during this process was this Tub & Tile Refinishing Aersol Can. It’s essentially the same thing as the refinisher but in a spray paint. I wouldn’t do the whole bathtub in this, it is difficult to avoid runs, BUT it’s ideal for touchups or corners.
Painting the Walls, Vanity, Countertops & Sink
TIME: 1 days
DIFFICULTY: Beginner
BUDGET COST: $0
FINAL COST: $0
Tools Needed:
Paint (dealer’s choice)
Tape
Sandpaper #80, #120
Electric sander
Respirator mask
The walls had been painted a darker green color (North Woods by Behr), as a temporary attempt to disguise the almond everything. As much as I loved this green in here, it was a bit much now that our bedroom is green. Plus I wanted to brighten the space. My goal was to only use stuff I already had. And I did!
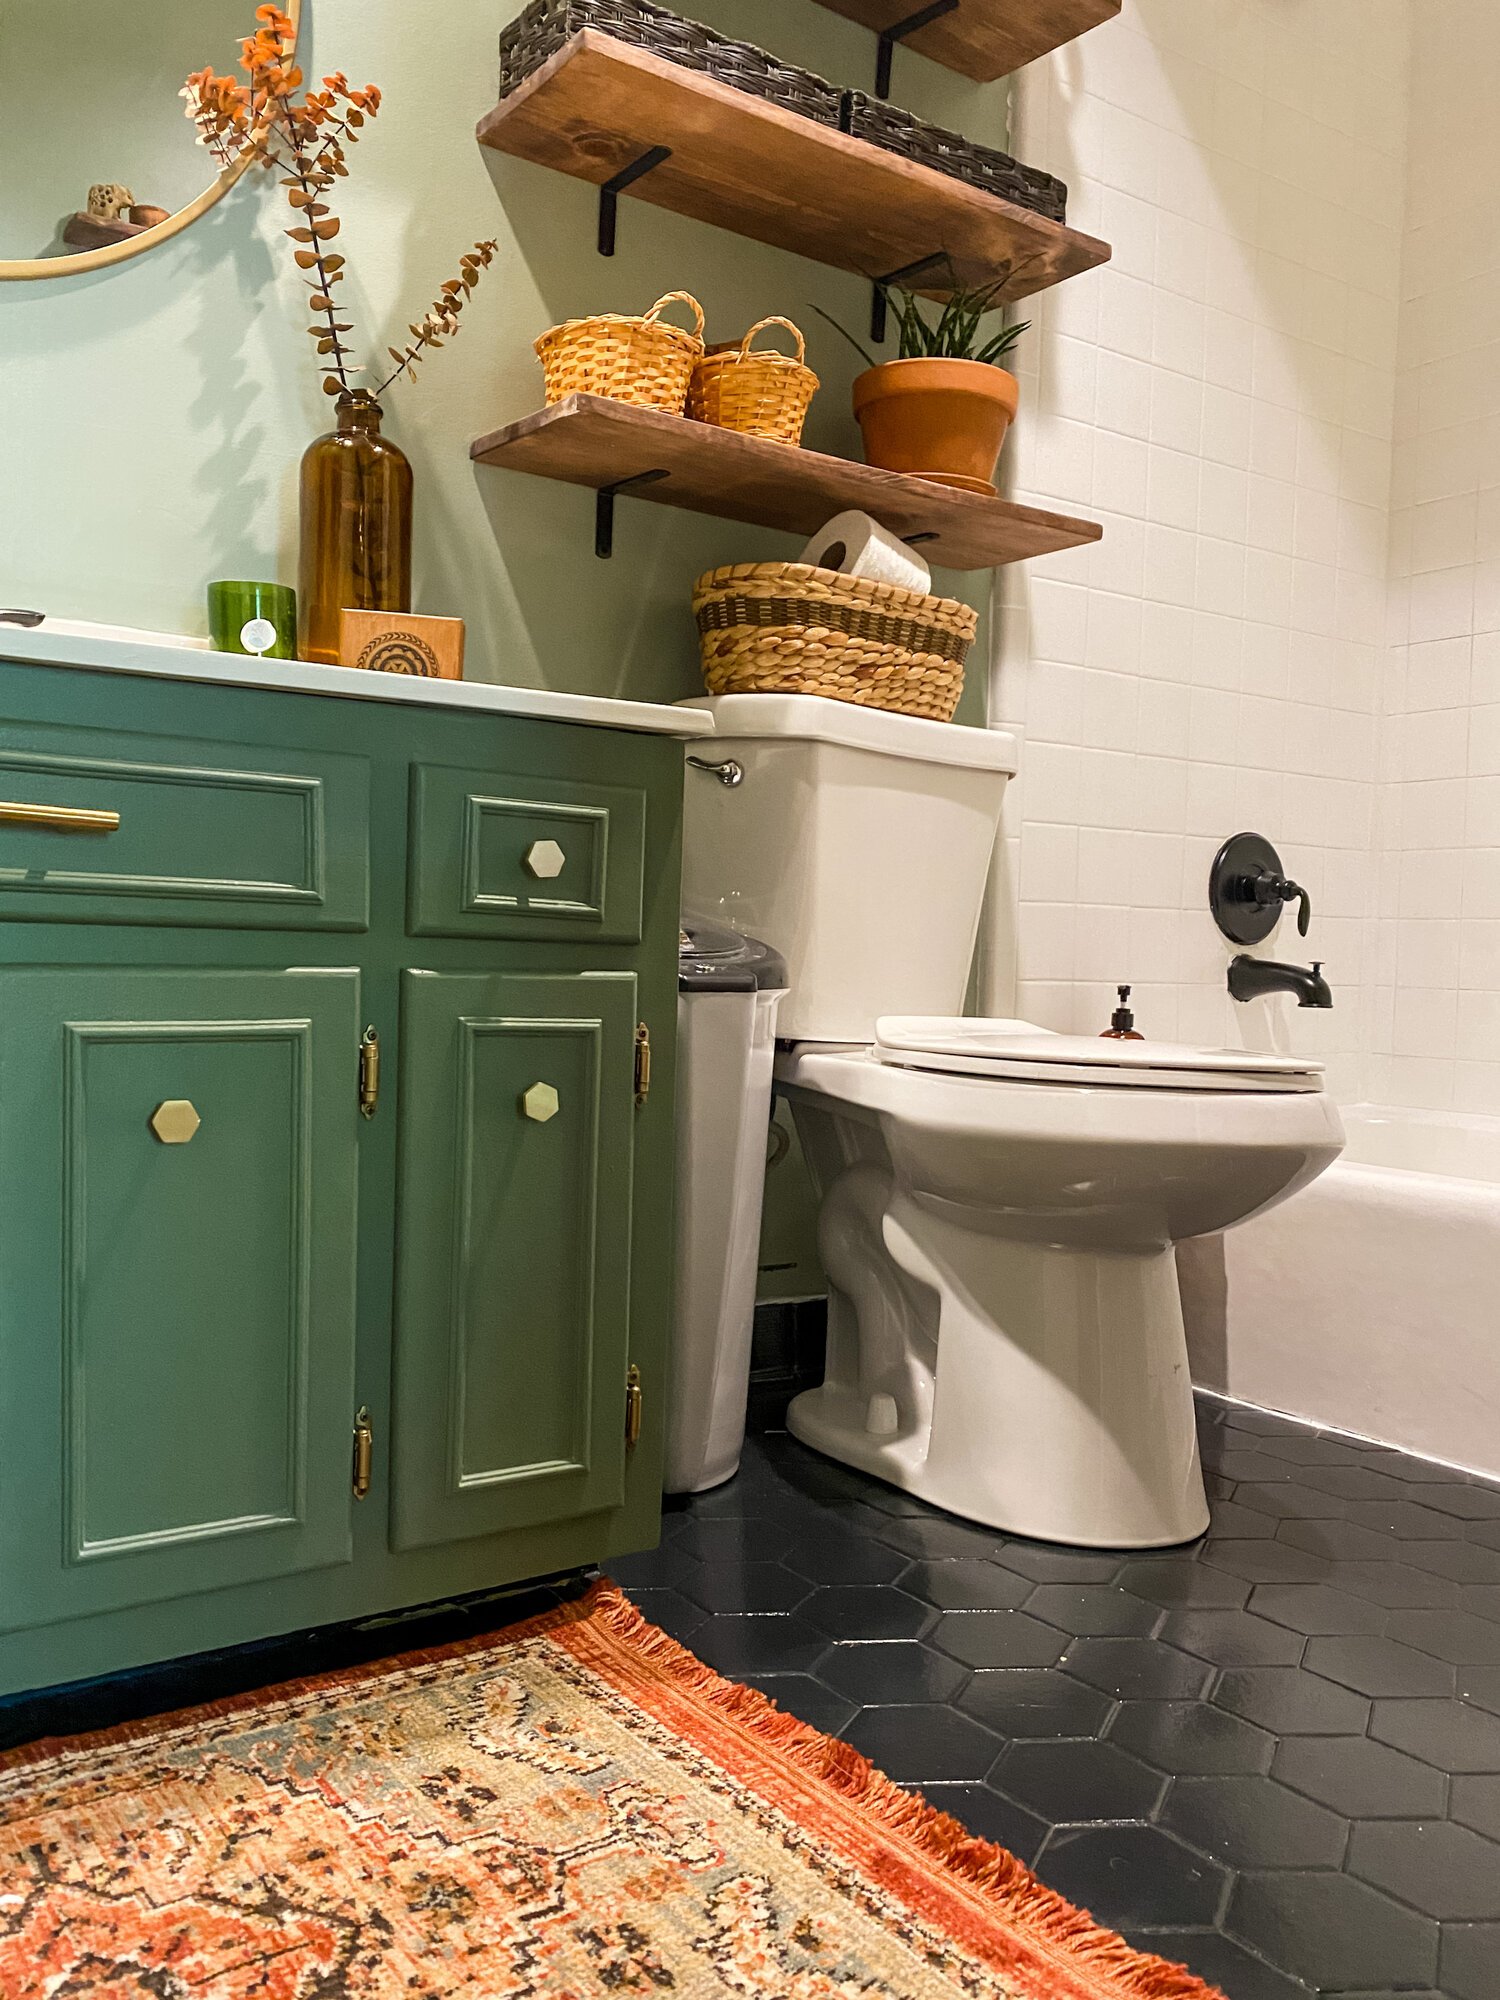
For the vanity cabinet, I went with Avon Green by Benjamin Moore, the same color as our bedroom. I wanted the rooms to feel cohesive since this is our en suite bathroom but didn’t want to have too much green. I waffled back and forth on keeping the knobs gold or painting them black, and in the end, kept with the gold. I love these hexagon knobs, which were the perfect way to tie in the hexagon tiles. I saw Sarah Randel use them in a flip and had to find a place for them in my home. Plus — so affordable! Last-minute, I realized I had a gold bar pull leftover from an old dresser, so I added it to the center, non-functional drawer to make the cabinet feel more custom and complete.
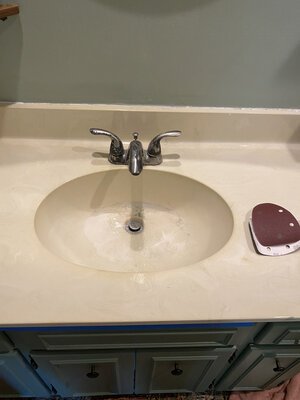
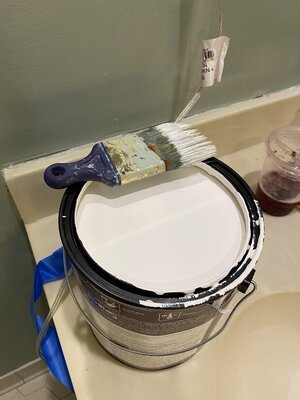
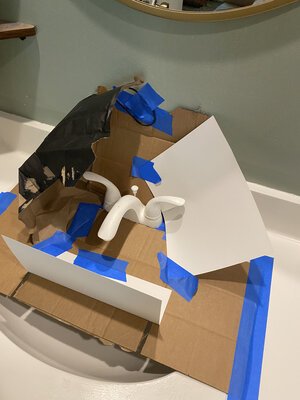
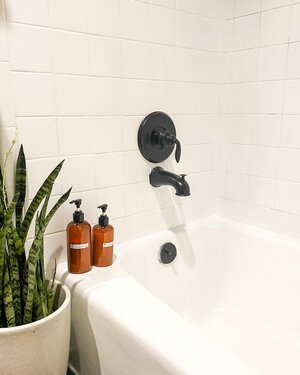
For the vanity countertop, I had originally planned to use some leftover butcher block we had from our kitchen remodel. But I measured wrong and realized the piece was too short for our existing vanity. (It does, however, perfectly fit in our guest bath so that’s a future project for sure!) For a temporary fix, until we can save for butcher block, I lightly sanded and painted the countertop and inset sink in Swiss Coffee by Behr. I had this paint left over from when I painted our living room. $0! A little black spray paint on the fixtures made a huge difference too. Then I sealed the countertop and sink with fast-drying polyurethane. I’ll update you on how it holds up!
For the walls, I wanted a softer green so I just mixed Avon Green and Swiss Coffee together to create a sage green color. While I LOVE the color, you may want to avoid mixing paints if you plan to make touch-ups. It’s very hard to even rematch the paint unless you measure before you mix the paints.
Painting & Sealing The Tile Floor
TIME: 1 day
DIFFICULTY: Beginner
BUDGET COST: $33
FINAL COST: $33
Tools Needed:
Brushes
Tape

I think painting the floor was the most impactful and easiest part of the entire refresh. Granted, our bathroom is very small so the job was small. The Rustoleum Floor Coating kit is so easy to use and tells you everything you need to know. Follow the instructions and you’ll be fine. Just make sure that the floor is clean and smooth. Once you’ve cleaned the floor, you’ll begin to paint on the first step: color. I chose black to highlight the shape of the tiles and make the space more modern. I used an angled brush on the corners, along the bathtub, and on the tile moulding around the wall. Then I used a roller brush for everything else. I did two coats and let them dry overnight. I didn’t find that this had a strong smell, or really any smell at all. The tub refinisher may have RUINED my sense of smell… but I found the floor paint completely unnoticeable.
The next day, I applied the Step 2 sealant in the exact same way I did the color. It dries to the touch after just 2 hours and cures in just a couple of days. I did it right before we went out of town, so the floor could sit untouched for a couple of days before I moved everything back in there. Again, I’ll update you on how it holds up, but so far so good!
Click on each FAQ to watch the answer.
WATCH: "Painted Tile Floor" Highlight On IG
We also found an affordable toilet, on sale, at Home Depot. It was 2.5-inches narrower than our old toilet, which turns out to make a huge difference in opening up space. Now our trash can and towel warmer fits between the vanity and toilet with ease.
WATCH: My Viral TikTok About A Towel Warmer 😂
Storage & Decor
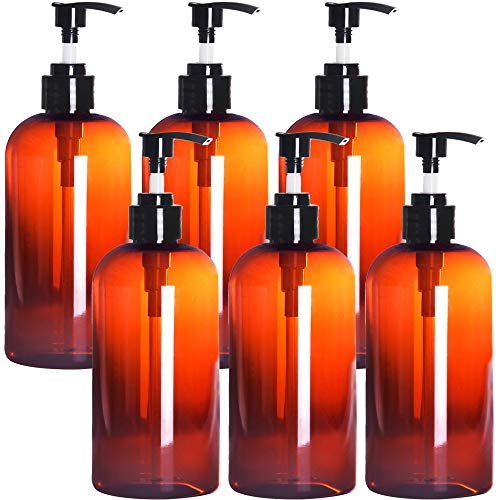
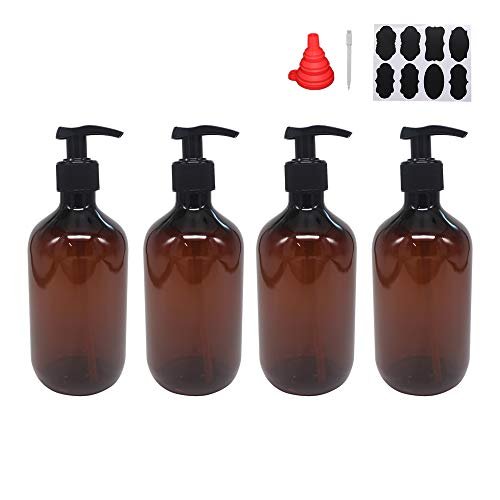
Storage was my biggest focus in this bathroom refresh. It was sorely needed, and I knew updating the bottles to match would make a huge difference without spending a ton of money. I opted for plastic amber glasses.
They look like glass but are made of durable plastic, which is much safer for the shower.
I transferred all of my products (face wash, moisturizer, shampoo, toner, you name it) into these bottles which made an instant difference. I highly recommend doing this for a QUICK and CHEAP way to make your bathroom feel more organized. Then I made labels for each of the bottles — which is very out of character for my usual chaotic self.
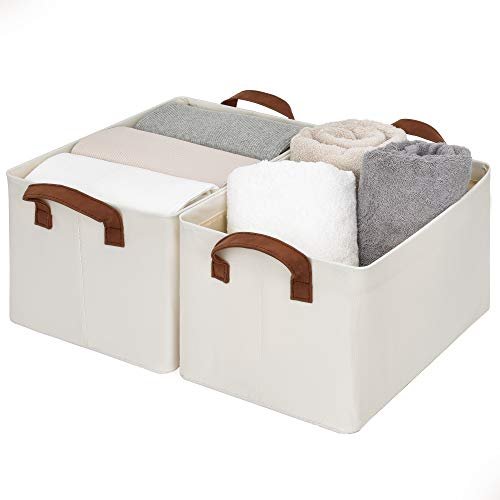
I invested a bit in two larger storage baskets to hold my hair tools and towels. I wanted something that would hide the mess inside, yet blend into the design. I got these collapsible baskets and they’re perfect. For the other storage, I’ve linked everything in my Amazon Storefront.
Other storage I found at Goodwill. Decorative baskets are always in supply at thrift stores and make the perfect functional yet beautiful storage.