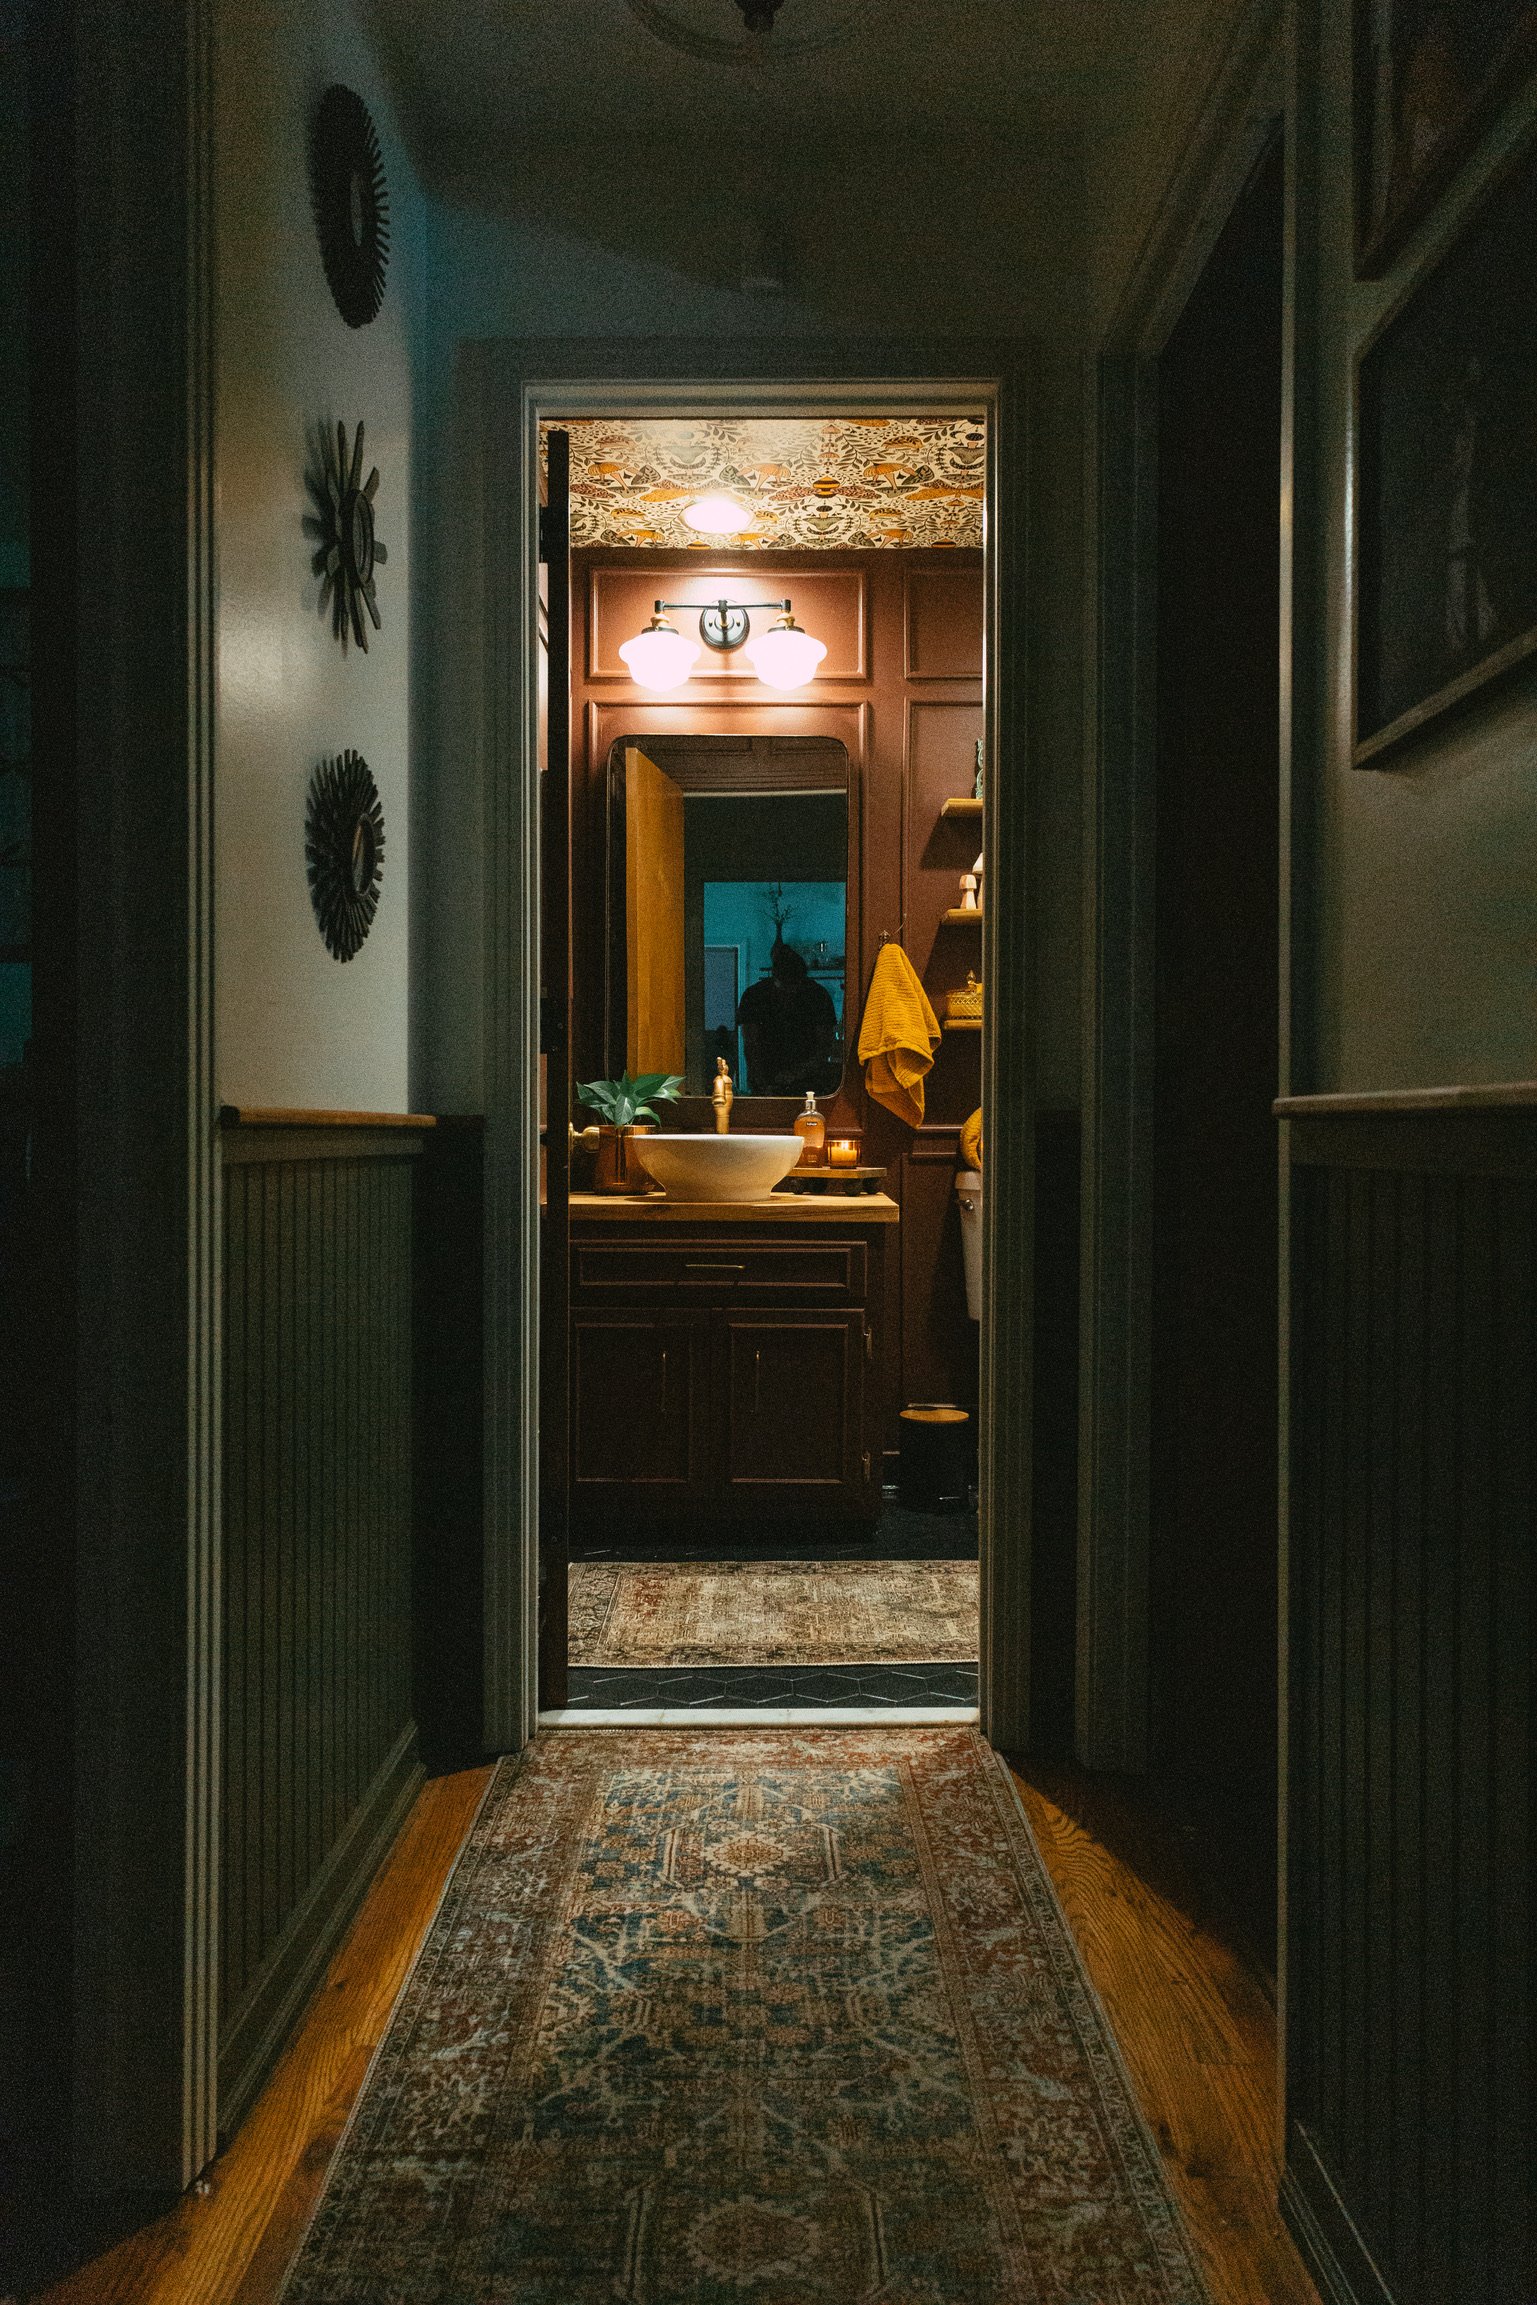
Guest Bathroom Renovation
We learned so much through trial and error when we refinished our primary bathroom last year. We wanted to redeem ourselves through a new project: our guest bathroom. But we took it a step further this time. We decided to rip out the toilet, sink AND countertop, so we are dipping our toes into some scary territory: PLUMBING. But don’t worry. It’s not as scary as you think. It usually involves dealing with something gross, though, and there’s plenty of that here.
Design & Budget
I’ll be honest and admit that much of this design came to me on the spot. Finding the mushroom and bee wallpaper was the very first thing I did and much of my design choices came from that. I had a goal to stay under $1,000 when completing this project, which felt like a reasonable number considering how much we were replacing.
Proposed Project List:
Replace vanity/sink
Replace toilet
Paint walls/vanity
New sink/faucet
Box trim on walls
Ceiling wallpaper
Built-in niche
Refinish bathtub/shower
New shower hardware
New light fixture
New wall shelves
Prep & Demo
Before we could begin to make this room beautiful, we had to get rid of the outdated fixtures.
Removing An Old Vanity Top With Built-In Sink
We ripped out the sink/vanity top combo, which proved much easier than we expected. These vanity tops with built-in sinks were very popular in the 1980s-90s, so if you have an older home that hasn’t been renovated, odds are you have one of these countertops. In our main bathroom, we opted to paint the countertop/sink as a temporary solution. However, for this bathroom, we decided to remove it.

What You’ll Need:
tray to catch water
What To Do:
Identify the Faucet Supply Tubes, P-Trap, Water Supply Tubes, and the Water Supply Valves
Turn the water supply off by turning the Water Supply Valves to the right
Remove the P-trap with a tray underneath to catch any excess water
Score edges of countertop caulk with a utility knife
Lift up on the countertop to remove it
Replacing The Almond-Colored Toilet
Next, we had to remove the old almond-color toilet that was ridiculously low to the ground. Luckily for us, we removed this exact same toilet in our main bathroom last year, so we were much more confident going into it. We purchased the same toilet from Home Depot.
What You’ll Need:
plastic cup
toilet seal (wax ringusually included with toilet kit)
What To Do:
Turn off the water supply and empty the bowl by flushing it and then using the plastic cup to remove excess water
Unscrew floor bolts
Disconnect the water valve
Lift the toilet directly up and remove it
Scrap off old adhesive
Plug the sewage hole with an old toilet to keep gases from leaking
Install new wax ring to the floor
Set toilet on wax ring and bolt into the ground and reconnect pipes
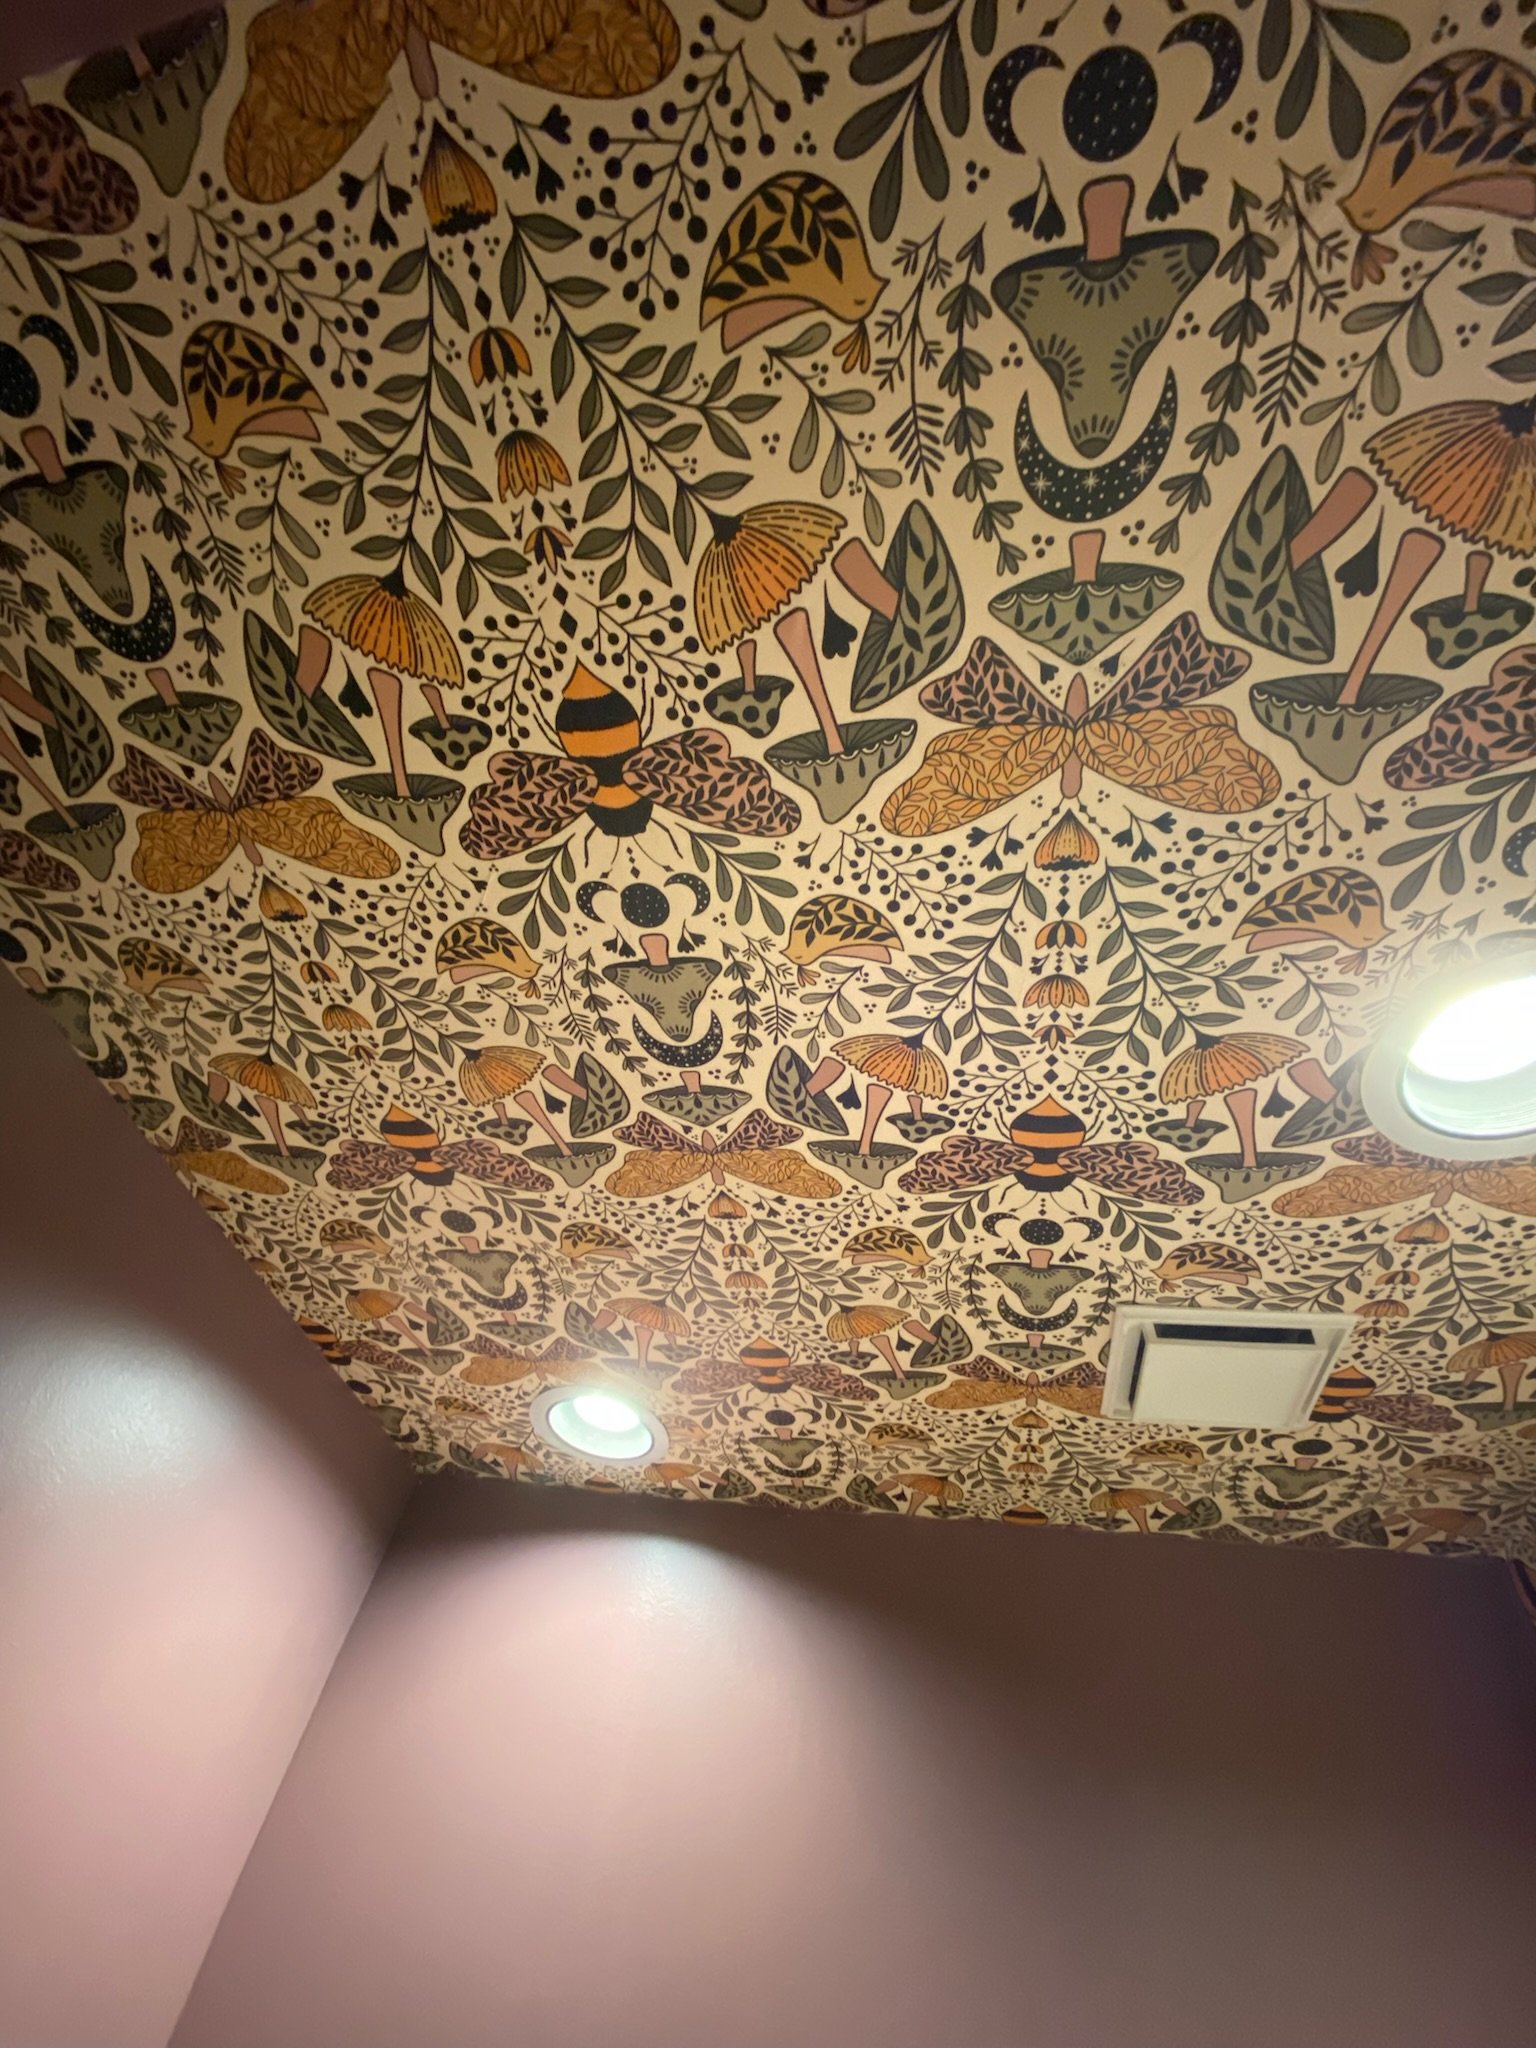
Wallpapering The Ceiling
https://www.tiktok.com/@homebodyhq/video/7107995789426806058?is_copy_url=1&is_from_webapp=v1
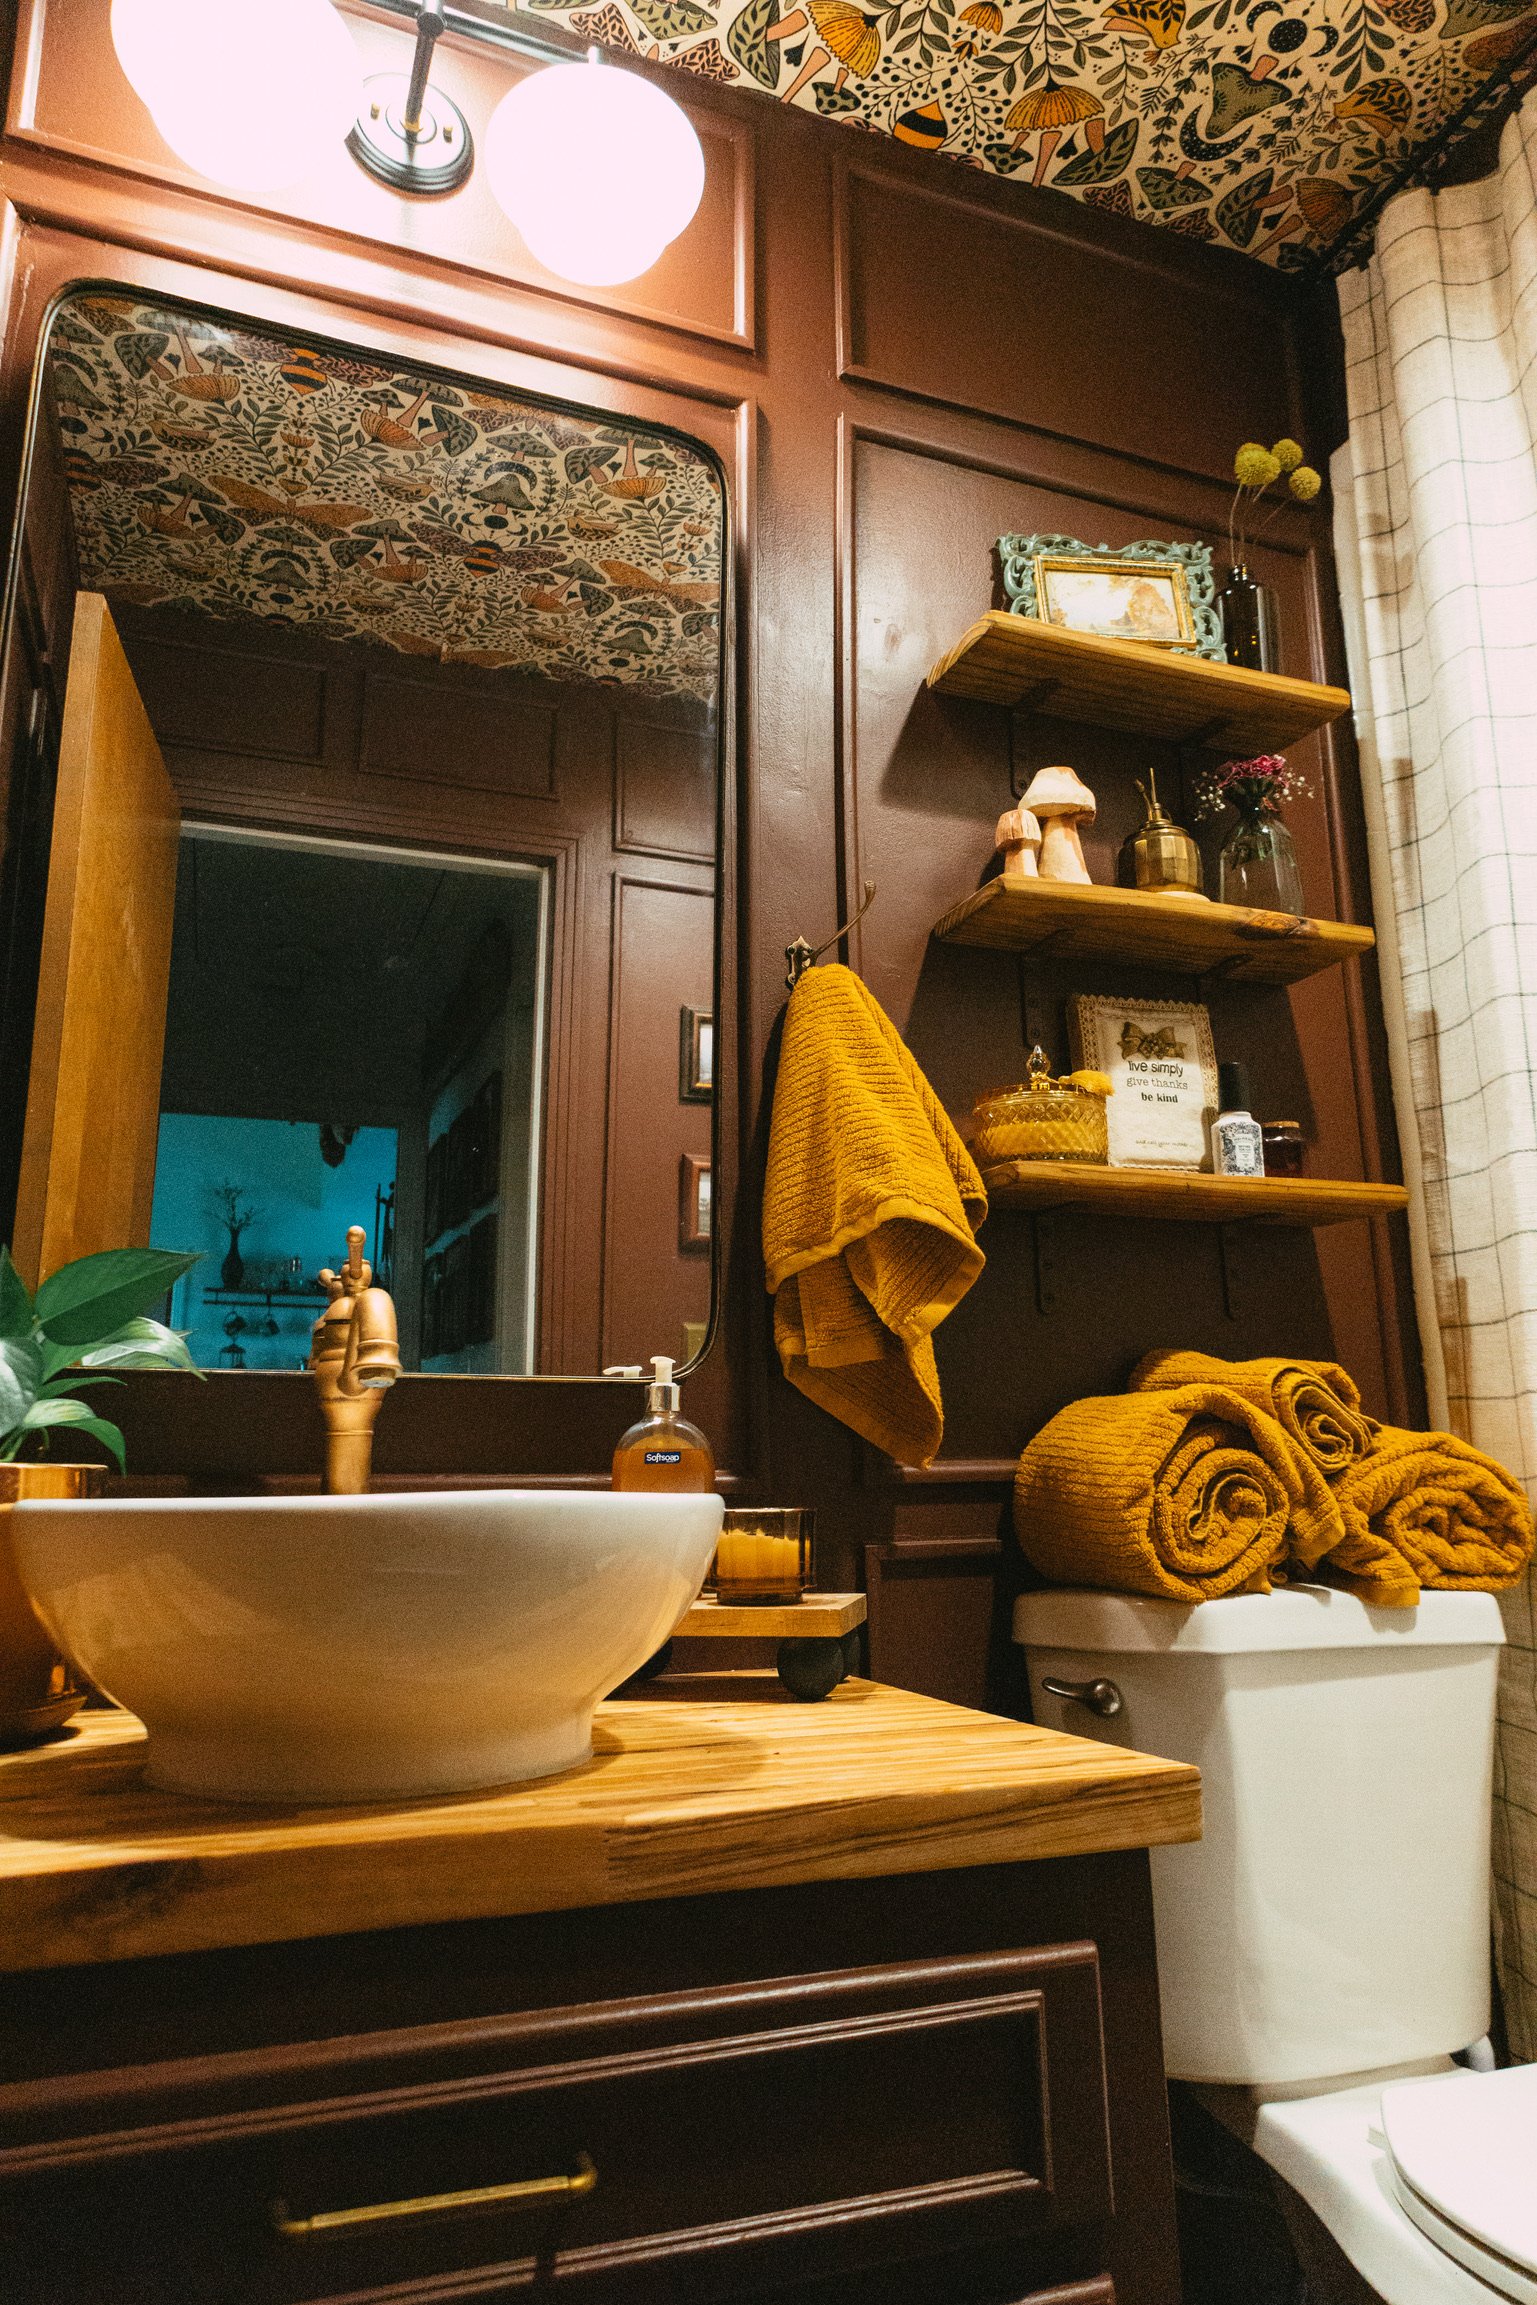
This wallpaper is the detail that started it all and has gone viral a couple of times on TikTok. The wallpaper is from Spoonflower and you can find it here. This pattern comes in a variety of kinds of wallpaper, but we opted for the traditional pre-pasted wallpaper that requires be submerged in water to stick on the ceiling.
Top Tips For Wallpapering The Ceiling:
Don’t do it on arm day of your workout or you’ll hate yourself.
Start in the most visible corner. Your first sheet will likely be the straightest, best-looking one.
Lining up sheets will be easier for some than others.
We bought the pre-pasted, which has its pros and cons.
Pros:
Easily removable with water.
Easier to maneuver when hanging for a better match-up with surrounding sheets.
Overall less frustrating than peel-and-stick
Cons:
It could fall down with a lot of steam. We hung ours in our guest bathroom, which isn’t used often, but I’d consider peel-and-stick if you’re hanging this in a high-traffic bathroom.
In order for the wallpaper to stick, it needs to dry, which means your arms will be tired making sure it doesn’t fall while it dries.
If you end up going with the pre-pasted wallpaper, I recommend using a paint roller and cheap roll to smooth out the bubbles and absorb excess water.
If you end up going with the peel-and-stick wallpaper, I recommend using a plastic putty knife to smooth out the air bubbles.
Lastly, if you lack patience or perfectionism, consider paint.
Painting the Walls and Vanity
I went back and forth on this paint color and even painted the entire room a different color, to begin with. The original color is beautiful — it’s a custom color so no way for me to share it with you — but ultimately, it was too bright for what I wanted. Instead, I opted for Benjamin Moore’s Townsend Harbor Brown and I love how rich it is. It’s like a red velvet cake or being inside a ruby. As usual, we got it mixed in BM’s Regal Select paint in Eggshell.
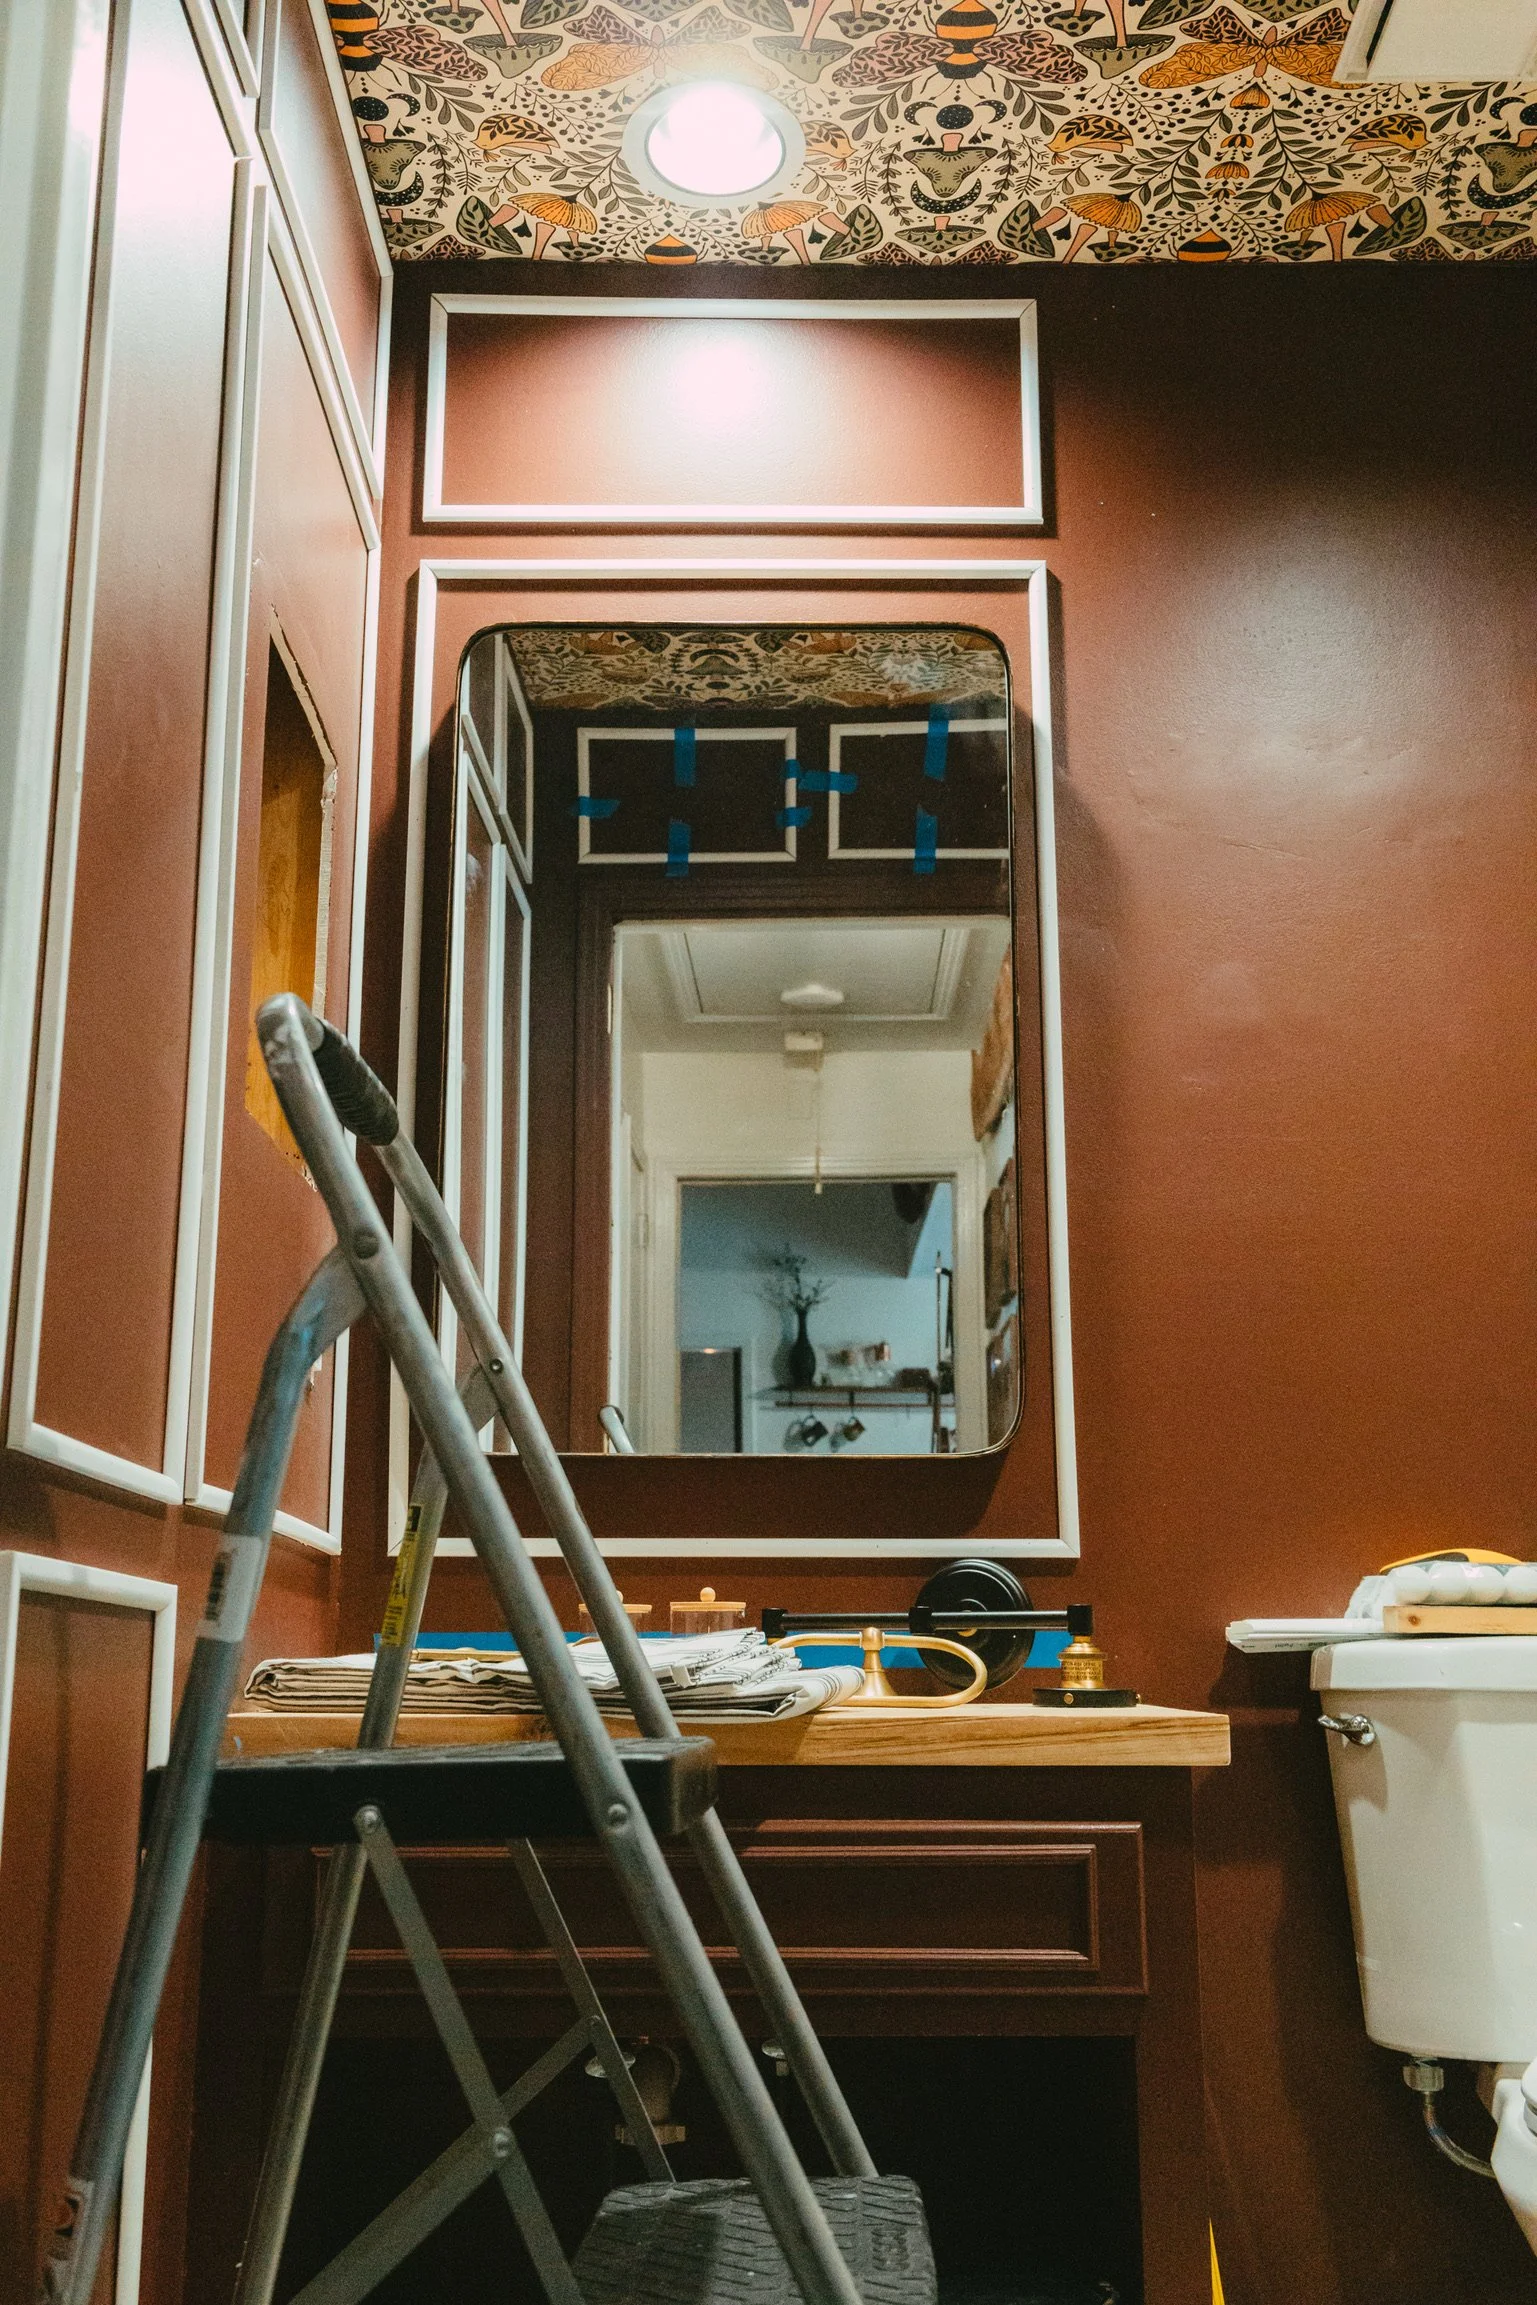
Box Trim Detail On The Walls
This box trim was a LABOR OF LOVE. We cut 150+ feet of trim. In 98° weather. It only took us about 6 hours 🙃 WITH BOTH OF US WORKING ON IT. But I can confidently say, it was worth it. We used this PVC trim that’s super easy to paint (and usually on sale).
Before even buying the trim, I mapped out what I thought I wanted with painter’s tape. I made sure the columns were even from top to bottom, but other than that, I just filled the space visually. This was how I created my final sketch and measured how much trim we needed. This was so helpful and ultimately saved me so much math and time.
https://www.tiktok.com/@homebodyhq/video/7110306292350340398?is_copy_url=1&is_from_webapp=v1
Tips For Adding Box Trim To Your Walls
Hang large items like mirrors first to build the boxes around
Use painter’s tape to lay out your plan
Boxes don’t need to be exact, but establish some consistency
The biggest lesson we learned? We should have used miter shears instead of our miter saw for such small cuts. It would have been faster, and we could have done it inside.
It immediately elevated this space and made it feel like a luxurious boutique hotel. The dark color feels even richer with the dimension of the box trim.
Painting The Tile Floor
I think painting the floor was the most impactful and easiest part of the entire refresh. Granted, our bathroom is very small so the job was small. The Rustoleum Floor Coating kit is so easy to use and tells you everything you need to know.
Refinishing The Bathtub and Shower Surround
This is another update we did in our main bathroom, so I felt much more confident completing this part of the project. I learned a lot from the first time I did this and even though I had some issues finding the products I needed, the process for this bathroom was so much easier.
What You’ll Need:
Once the whole area was clean, smooth, and dry — I tapped everything off and set up everything I needed to keep the area well ventilated. I cannot reiterate this enough: PREPARE FOR THE SMELL. The refinishing kit is extremely smelly and lingers… Our bathroom doesn’t have any windows, so this was especially difficult. I wore a respirator mask the whole time and kept a fan in our bedroom window and one in the bathroom doorway.
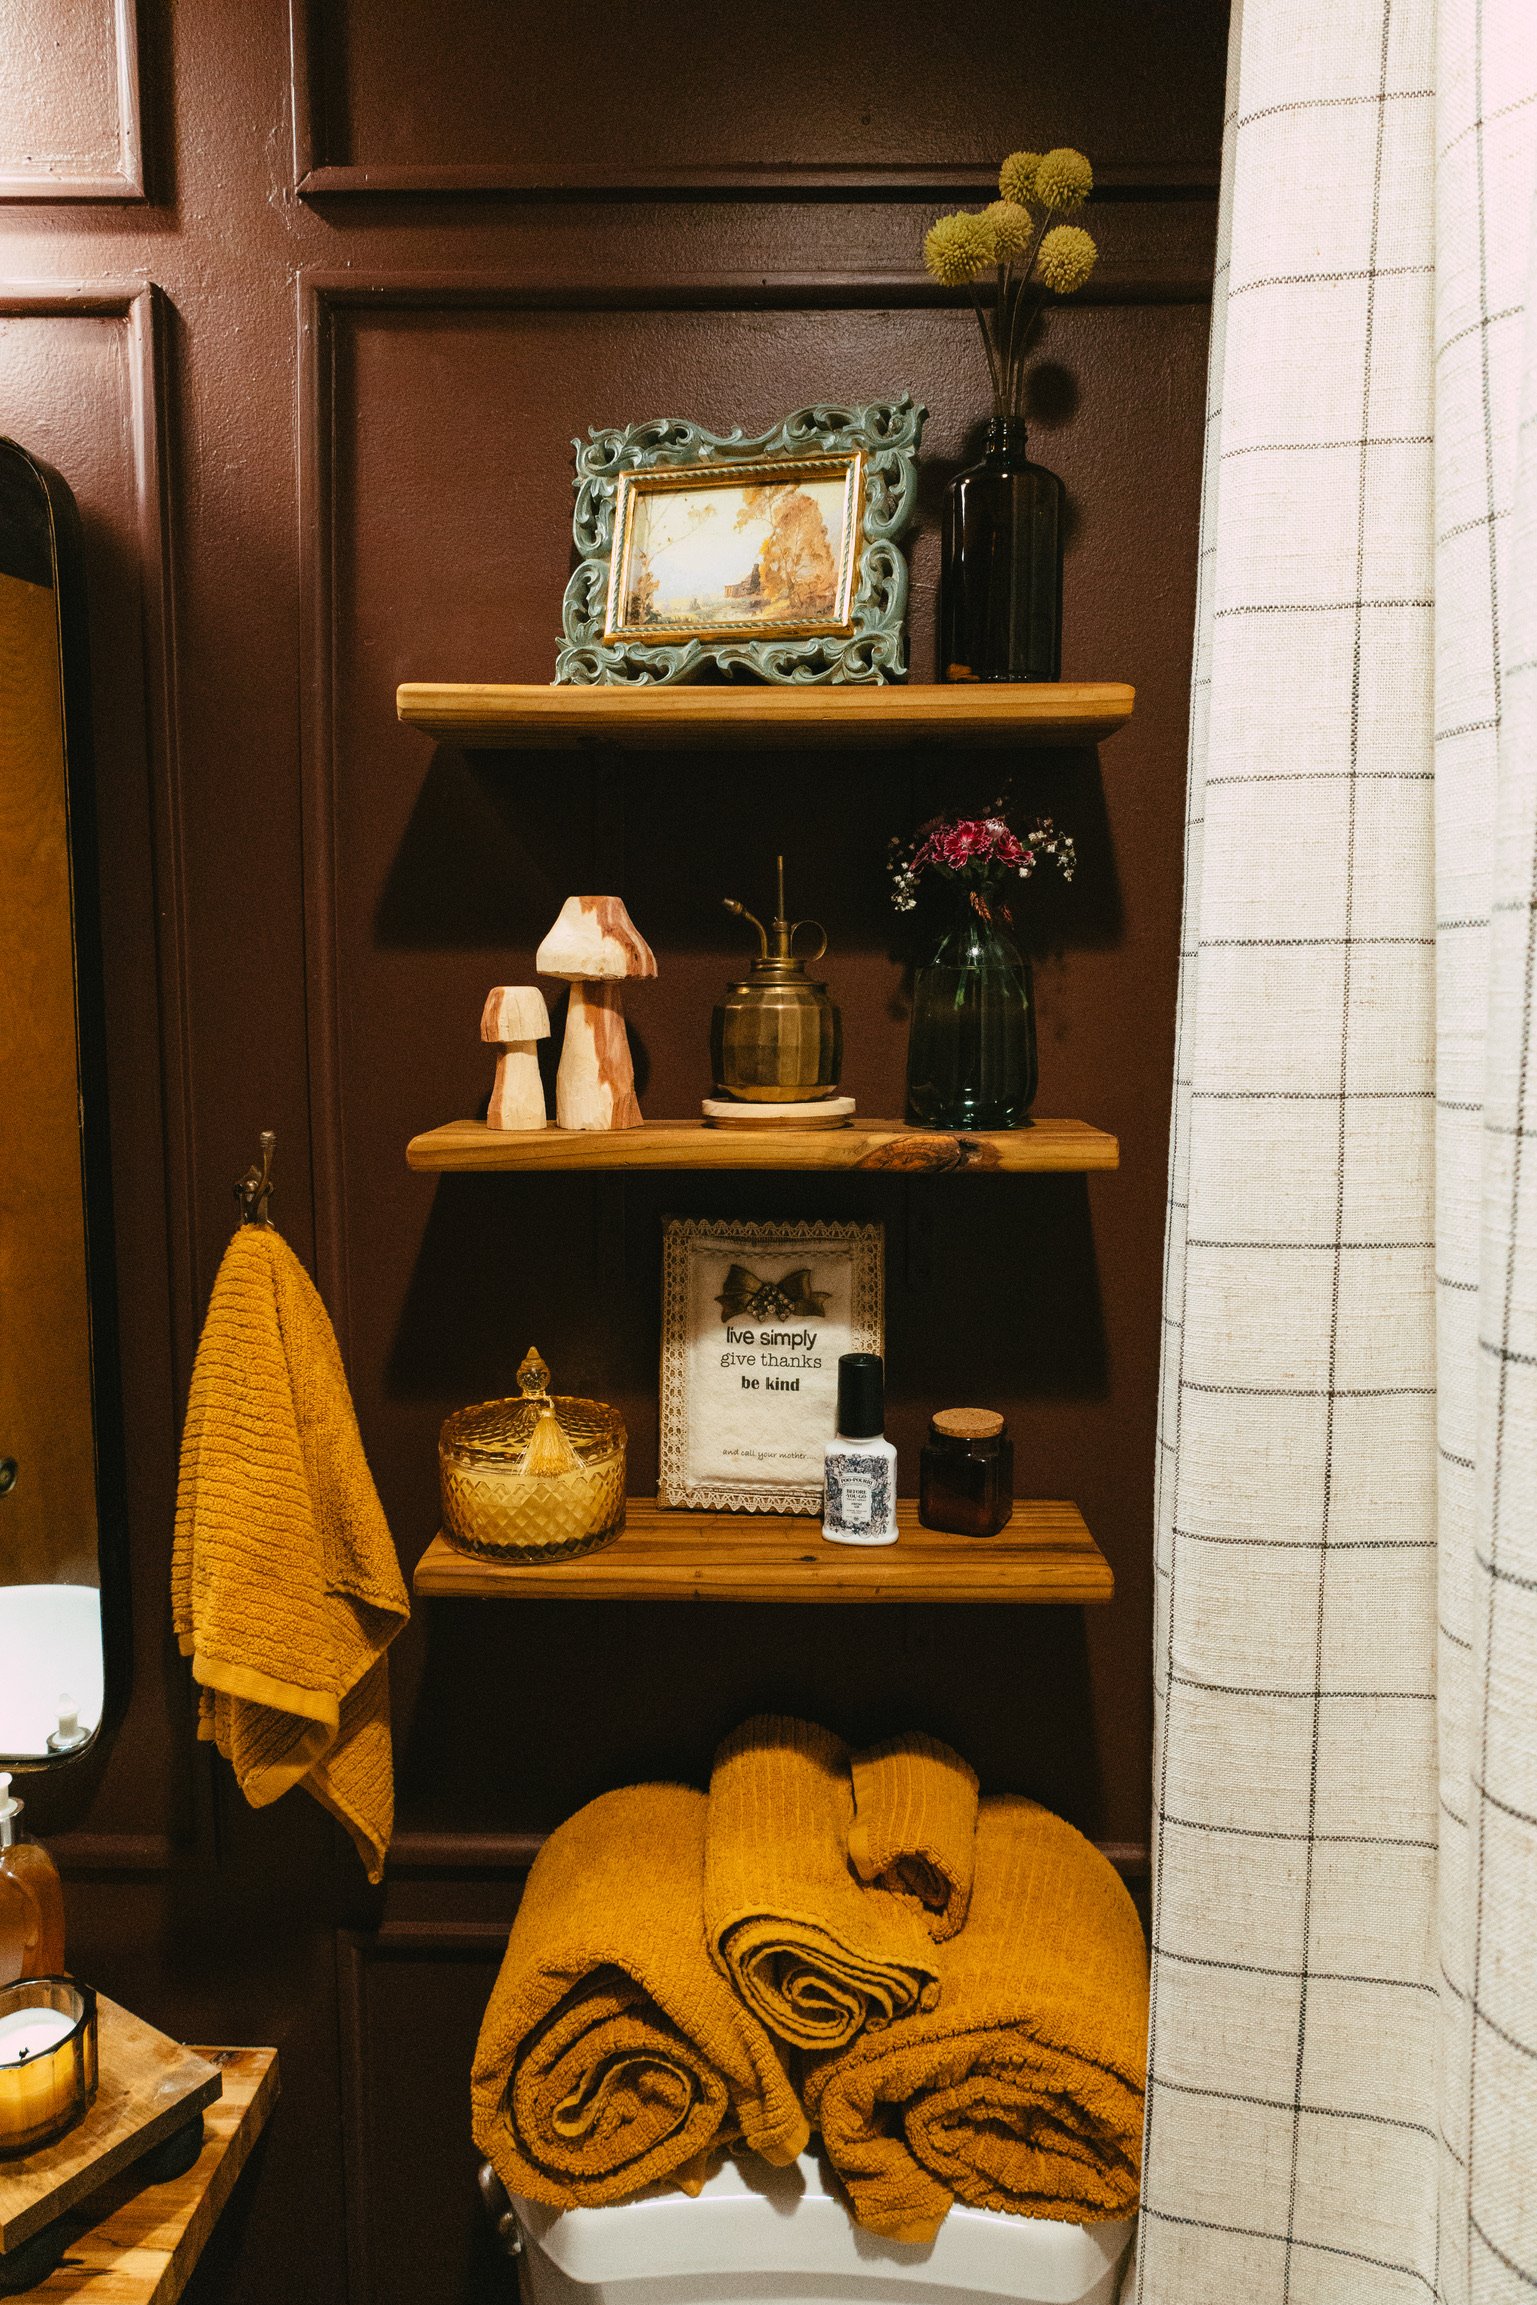
Shelving & Custom Niche
Much like our main bathroom, we added custom floating shelves above the toilet for additional storage. We made these from a long piece of driftwood that we cut into three sections and attached to the wall with L-brackets.
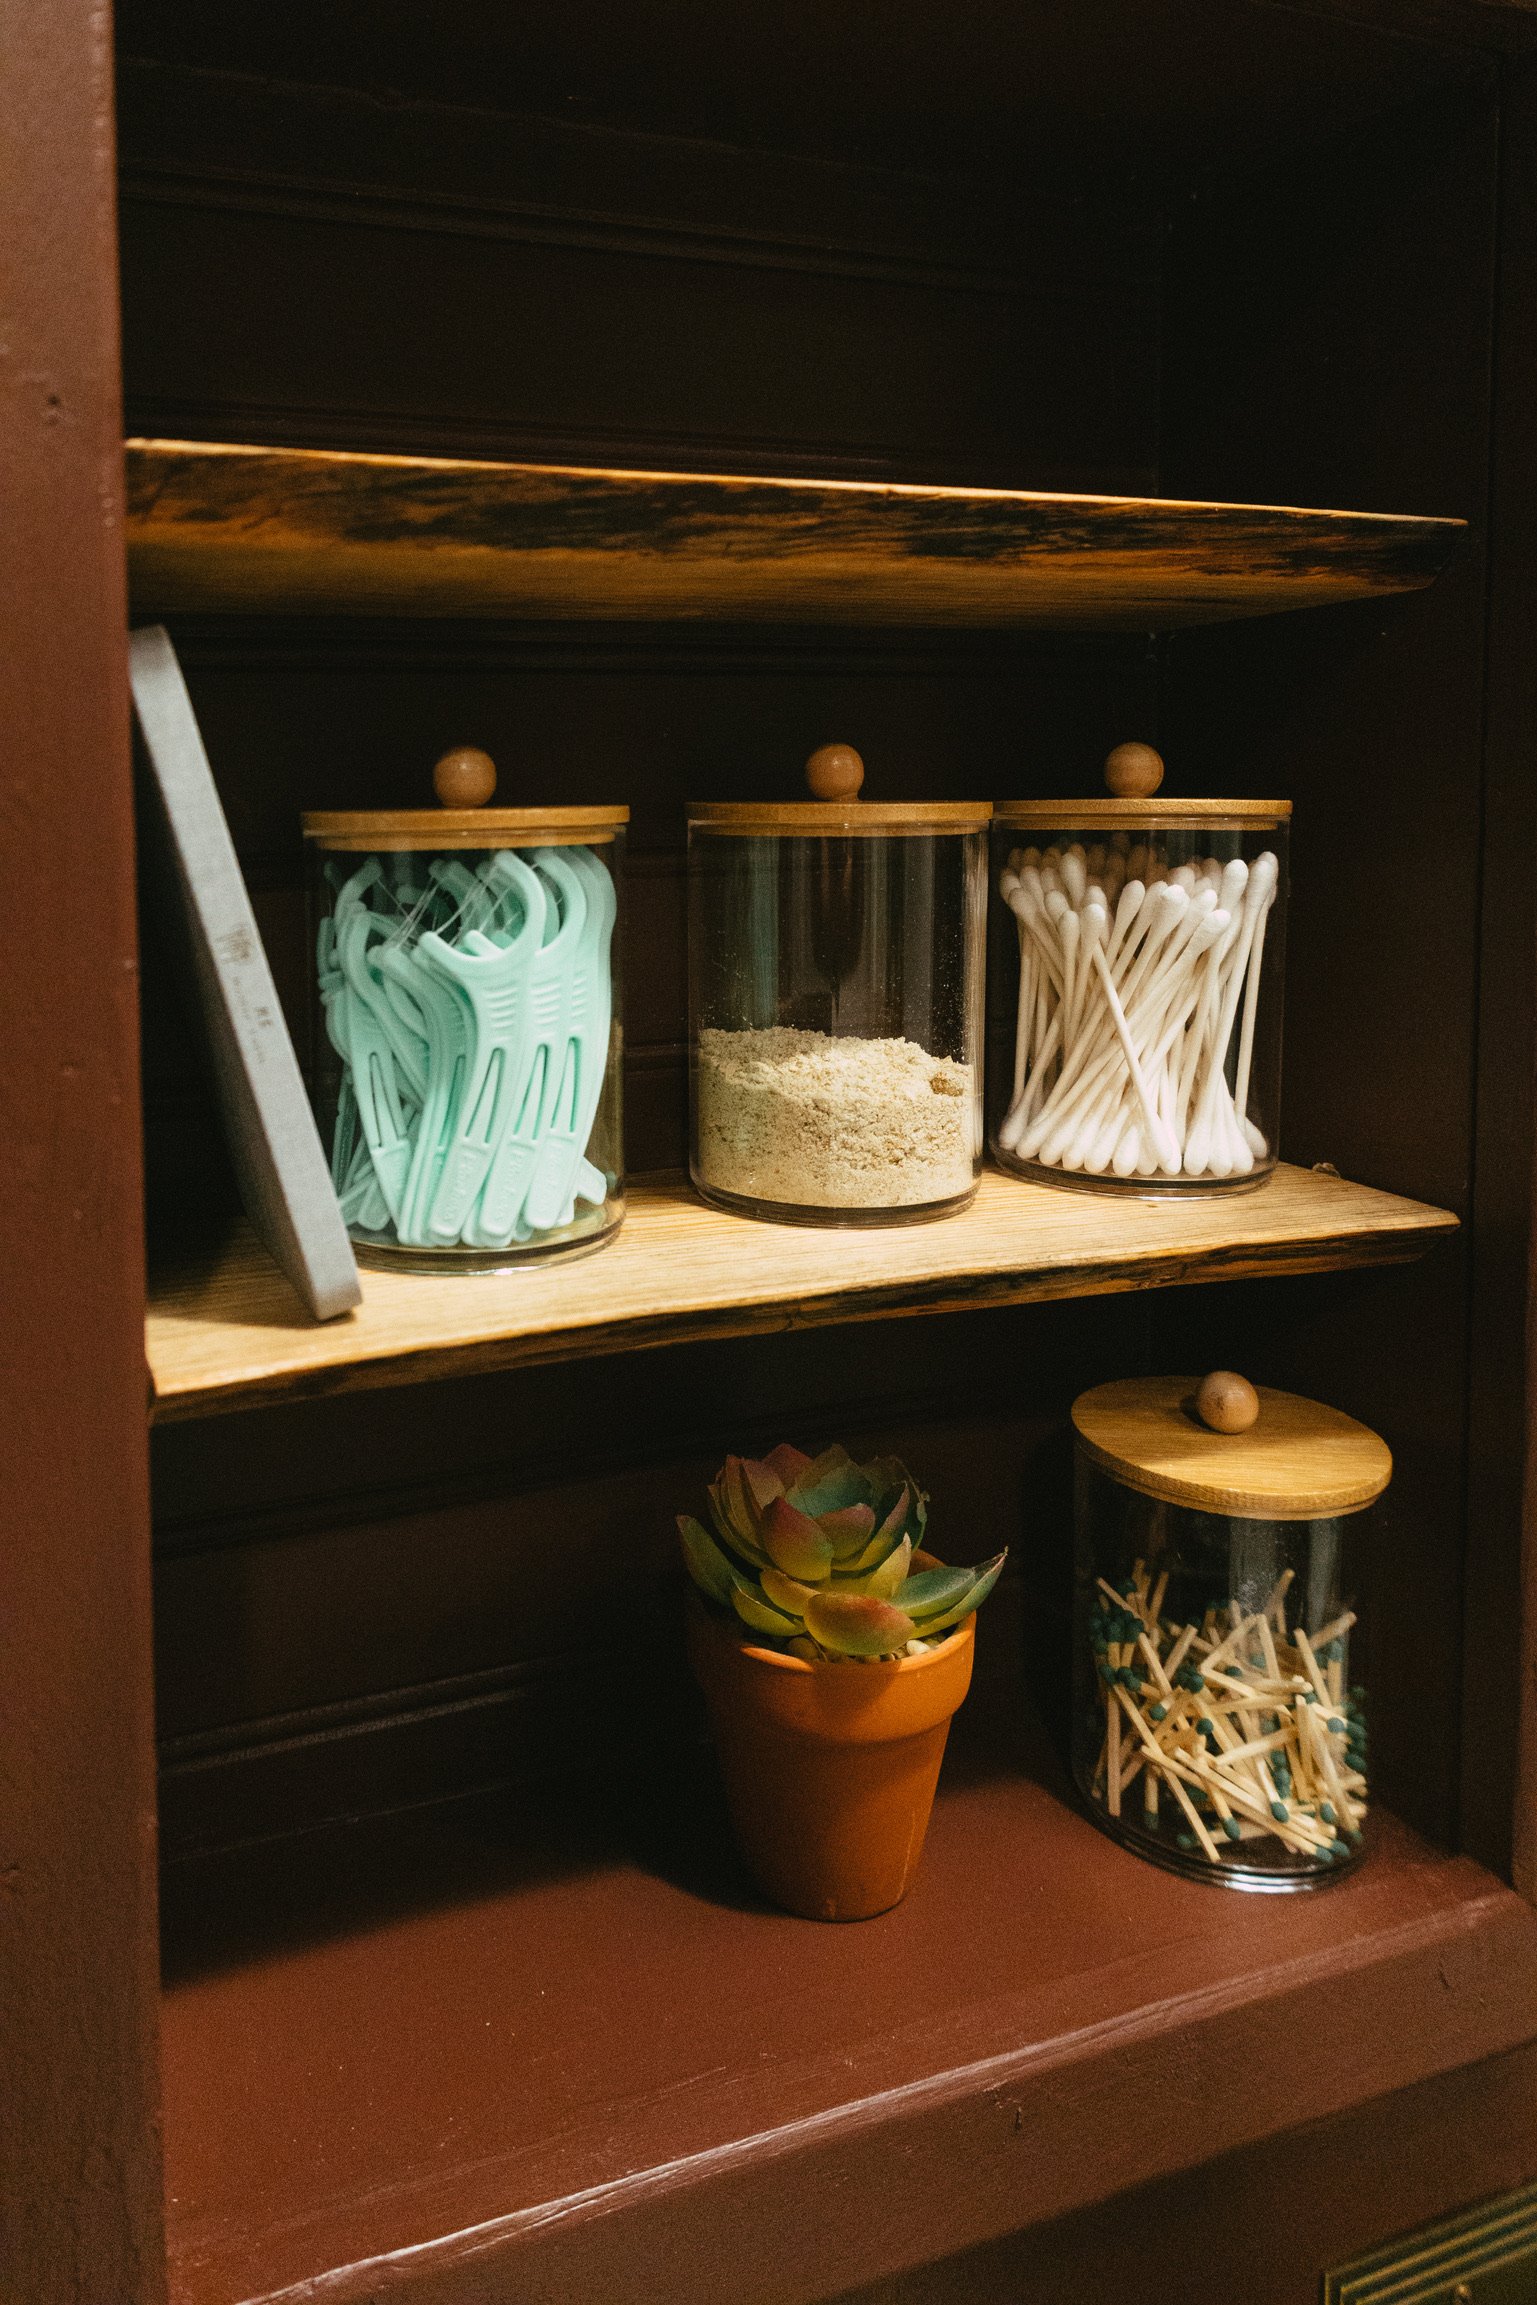
In place of the medicine cabinet, we added a built-in niche made entirely of scrap materials. We built a custom-sized box from MDF that fit perfectly into the opening in the drywall. We attached a piece of beadboard to the back of the box for a decorative look that would offer additional storage. We painted it to match the wall and added trim to finish it off.
Decor & Details
I had a really hard time finding antique brass fixtures that matched, so I ended up painting most of them with Rub n Buff to create a cohesive look.
The artwork is one of my favorite additions because they’re prints of The Hermitage, Abe Lincoln’s home that’s located down the street from us. These prints came from a thrift book of Tennessee art. I scoured the book for something in a similar color palette and this was a perfect match. I found some frames at Goodwill to match the art print sizes and I quickly had stunning art for under $10.
The wooden mushrooms were the sweetest creation from Chance’s grandmother, Carol (we call her Mil). She’s a talented wood carver and we asked her to create some wooden mushrooms for us and she OVER delivered.
The honey-color towels tied in the wallpaper and overall woodland, bee theme. They’re really affordable at Target. The mirror was gifted from Frame My Mirror.
The light fixture is a perfect Amazon find, and we were able to save money by purchasing the plug-in option and utilizing wireless light bulbs. They’re remote-controlled and a total game-changer when it comes to adding lighting to your home.
Overview
When we started out, our budget for this bathroom was $1000. We updated our primary bath last year for $475 but we didn’t replace the vanity, sink, lights, or medicine cabinet.
The average bathroom renovation costs about $150/sqft and at about 50sqft, most renovations this size would cost closer to $7500.
So… 🥁🥁🥁
SHOW ME THE NUMBERS
Wallpaper - $150 (gifted)
Paint - $75
Floor paint - $45
Tub refinisher - $130
Shower hardware - $200
Toilet - $99
Sink/faucet - $145
Box trim - $150
Rug - $40
Light fixture - $55
Shelves - free
Mirror - $190 (gifted)
Accessories - $50
Hardware - $60
Niche - $14
Supplies - $30
GRAND TOTAL (out of our pocket): $1,093 🎉🎉🎉
I’m so proud that we made this bathroom feel SO luxurious for such a budget-friendly price tag.